
Alginate impressions look routine, and that is the trap. Nearly everything that goes wrong with one, including a distorted model, a gagging patient or a cross-contaminated tub of powder, happens because a step was rushed or left out. The demonstration this post is based on comes from a US training channel for dental assistants. It shows the physical sequence well, but a few of its details differ from UK teaching, and those differences are worth knowing for an assessment.
First, the UK context. In the GDC’s Scope of Practice, taking impressions to the prescription of a dentist (or a clinical dental technician where appropriate) is an additional skill. It is not part of a dental nurse’s core role on registration. You only take impressions once you have been trained, are competent and are indemnified to do so.
What alginate is, and why that matters
Alginate is an irreversible hydrocolloid. When the powder is mixed with water, a soluble alginate reacts with calcium sulphate to form an insoluble calcium alginate gel. A retarder, usually sodium phosphate, delays that reaction so you have working time. Once it has set, it cannot be turned back into a liquid.
Two properties explain most of the handling rules:
- It is elastic but tears. It can be drawn past undercuts, but thin sections tear if the impression is removed before it has fully set, or pulled out unevenly.
- It is dimensionally unstable. Once set, it loses water and shrinks (syneresis) or absorbs water and swells (imbibition). Both distort the model.
Tray selection comes first
The demonstration spends more time trying in trays than mixing, and that is the right balance. Several sizes are tried in turn:
- The first is too big and plainly will not fit comfortably.
- The next is too narrow and catches the sides of the arch. A tray that presses on the teeth or on bony prominences leaves too little room for material and will distort the result.
- The final tray is slightly wider, sits clear of the teeth and covers the last molar.
To try in an upper tray, retract the cheek with a finger, rotate the tray in and lift it into place. For the lower, keep the lip out of the way and ask the patient to lift their tongue. In both cases you are checking three things: the tray is comfortable, it is not touching anything, and it extends far enough back.
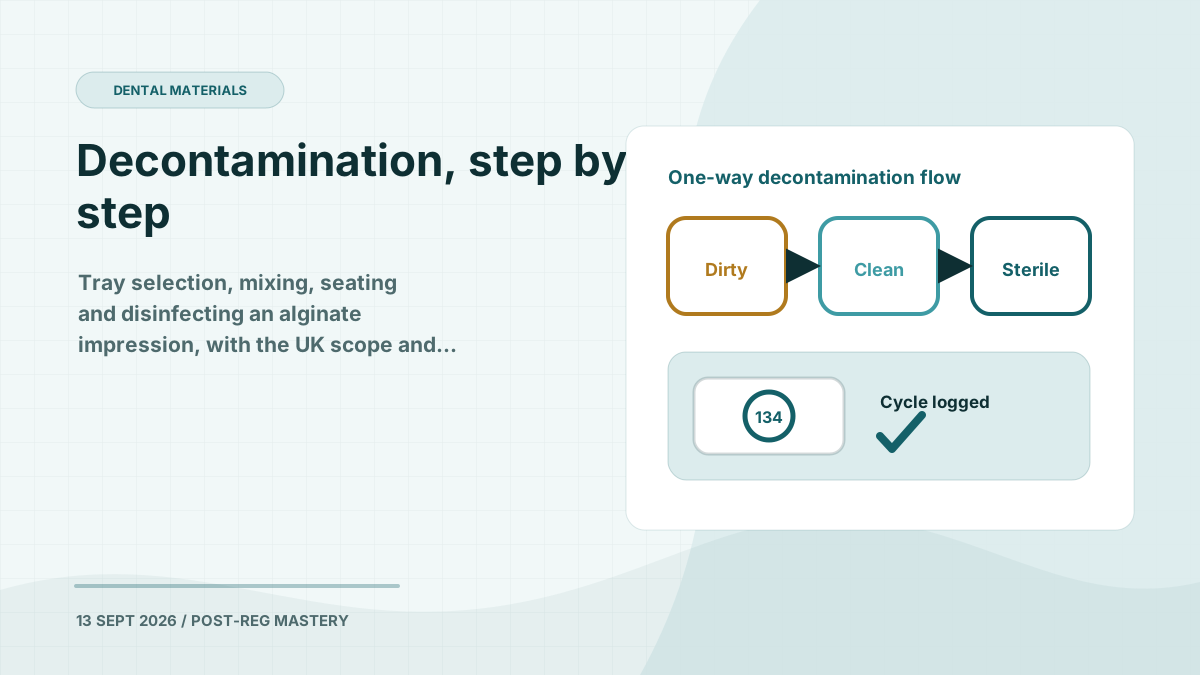
A tray that has been tried in the mouth is contaminated even if you do not use it. Single-use trays are discarded, and reusable trays go through the practice’s decontamination process. The difference between cleaning, disinfection and sterilisation applies here as much as it does to instruments.
Preparing the material
Before touching the alginate, the operator changes gloves. Their hands have been in the patient’s mouth during try-in, and the bulk tub of powder is shared across many patients. That glove change is easy to skip and important to remember.
The preparation sequence:
- Fluff the powder by turning the closed tub upside down and back again. The components settle in storage, and this redistributes them.
- Scoop level using the manufacturer’s measure, and use the number of scoops the manufacturer specifies. The demonstration uses three per bowl, but that figure applies to that product only.
- Replace the lid straight away so moisture from the air does not get into the powder.
- Add the measured water to the powder, holding the bowl steady.
- Mix firmly against the sides of the bowl until all the powder is wetted and the mix is smooth and creamy.
“Use your bowl — your bowl is your friend.”
That line sums up the technique. You spatulate against the sides of the bowl rather than stirring in the middle, because a grainy or streaky mix usually means the powder has not been fully incorporated.
The operator also has a second bowl ready in case more material is needed, which is cheaper than retaking the impression. Load the tray, smooth the surface and remove any excess you do not need. Too much surplus only ends up at the back of the mouth.
Taking the upper
In the demonstration, the upper is taken with the operator standing behind the patient. The reason given is safety: from there, if the patient starts to gag or choke, the operator can bring them forward. Positioning varies between training programmes. What matters is that you can see and control the tray, and that the patient is upright with their head slightly forward, not reclined.
The seating sequence:
- Retract the cheek and rotate the tray in.
- Centre it on the midline, using the incisive papilla and labial frenum as guides.
- Seat it back first, then forward, so surplus flows towards the lips rather than the soft palate.
- Pull the lip out and down over the tray and gently massage it. This border moulding records the functional depth of the sulcus, which the demonstration calls the “lip roll”.
- Reassure the patient throughout and ask them to breathe through their nose.
If a patient does gag, stay calm, keep them upright and leaning forward, and follow your practice protocol. Material lodged in the airway is a choking emergency, which is covered in the post on medical emergencies in the dental practice.
Taking the lower
The lower is taken from in front. Retract the cheek, rotate the tray in and seat it from the distal end forwards. Ask the patient to lift their tongue, so that the lingual sulcus is recorded rather than covered by the tongue. Then move the lip out of the way on each side and mould it. Centre on the midline again, using the lower central incisors as the reference.
The demonstration makes one point strongly: do not press too hard. Heavy pressure squeezes material out from under the tray, lets the tray touch the teeth and leaves thin, torn areas in the impression.
Checking set and removing the tray
The operator tests the set by pressing a fingernail into the surplus material. When it no longer takes an impression, the material has set. They also keep a little mixed material on the bench as a tester. That works as a guide, with one catch: the material in the mouth sets faster because of the patient’s body heat. Warmer mixing water speeds it up too.
To remove the tray, place a finger over the opposing teeth to protect them, break the seal and take the tray out. The demonstration describes rocking the tray out gently. Standard textbook teaching is different: break the seal, then remove the tray in one firm movement along the long axis of the teeth. Alginate is viscoelastic, and slow or rocking removal increases permanent distortion. If your training taught you differently, go with your trainer and the manufacturer, but know the textbook reason.
What a good impression shows
The demonstration checks for all the teeth, the full depth of the sulcus, the palate on the upper and the tongue space on the lower, with only minor voids. Errors come up often in questions:
| Fault | Likely cause |
|---|---|
| Air voids or bubbles | Air mixed in, too little material, or the tray not seated |
| Grainy or lumpy surface | Too little mixing, or the material started to set before seating |
| Torn areas | Removed too early, thin sections over undercuts, or uneven removal |
| Tray showing through | Too much pressure, or a tray that was too small |
| Missing posterior teeth | Tray too short, or not enough material at the back |
| Distorted model | Tray moved during setting, rocking removal, or delayed pouring |
After removal: the step the video handles differently
In the demonstration, the impressions are sprayed with a US surface disinfectant and wrapped in a paper towel, which it notes would normally be damp to stop them shrinking, and then poured straight away. Pouring straight away is the best option.
The UK sequence differs in some details:
- Rinse under running water to remove saliva, blood and debris. Disinfectant cannot work properly through organic matter.
- Disinfect with a product validated for impressions and compatible with alginate, following the manufacturer’s method and contact time. A general surface spray is not automatically suitable.
- Rinse again so no disinfectant residue is left on the impression.
- Record that it has been disinfected, and label it before it goes to the laboratory.
- Pour promptly. If there will be a delay, store it exactly as the alginate manufacturer directs, usually in a sealed bag with damp gauze or towel, never soaking in water.
Disinfection reduces the microbial load. It does not sterilise the impression, so the lab still handles it as a potentially contaminated item.
In the assessment. Questions on impressions usually test one of three things: the property that explains a fault (syneresis, imbibition, tearing), the order of the disinfection steps, or whether the task is within a dental nurse’s scope. For scope questions, look for the words additional skill and prescription.
Where this sits in your development
Study models record starting positions for orthodontic assessment, and they are also used for retainers, whitening trays and mouthguards. That makes impression-taking a natural extension for a dental nurse moving into orthodontic or extended-duties work. If you train in it, record it as part of your enhanced CPD, with the development outcome it meets.
Nothing on this page is clinical guidance. It is revision material for an assessment. In practice, work from your own training and supervision, your practice protocols, the GDC’s Scope of Practice and the manufacturer’s instructions for the material and disinfectant you use.
Revise it properly
Dental Post-Reg Mastery is our revision app for the NEBDN post-registration certificates in dental nursing. It has 1160 questions across 26 topics, 72 of them free, including 464 extended matching questions, which suit fault-and-cause and scope-of-practice scenarios like the ones above. It is an independent revision tool that mirrors the certificate assessment format. It is not endorsed or approved by the NEBDN or the GDC.
- Dental materials
- Orthodontic nursing
- Infection control
Frequently asked
Can a dental nurse take impressions in the UK?
Yes. The GDC's Scope of Practice lists taking impressions as an additional skill a dental nurse can develop, working to the prescription of a dentist or, where appropriate, a clinical dental technician. You need proper training, you need to be competent and indemnified, and you need to feel confident doing it. A blog post or a video does not qualify you.
Why is an upper alginate tray seated from the back first?
Seating the back of the tray first pushes surplus material forward towards the lips instead of back towards the soft palate. That reduces gagging and the chance of material reaching the oropharynx. Keeping the patient upright with their head slightly forward helps for the same reason.
Why does an alginate impression need to be poured quickly?
Alginate is dimensionally unstable once it has set. Left to dry, it loses water and shrinks (syneresis). Left soaking, it takes up water and swells (imbibition). Either change distorts the model, so impressions are poured as soon as possible, or stored exactly as the manufacturer directs.
How is an alginate impression disinfected before it goes to the lab?
Rinse it under running water to remove saliva and blood. Then disinfect it with a product that is validated for impressions and compatible with alginate, using the manufacturer's method and contact time. Rinse again, and record that it has been disinfected before it leaves the practice.
What makes alginate set faster?
A fast-set formulation, warmer mixing water and the warmth of the patient's mouth all shorten the setting time. That is why material on the bench sets more slowly than the impression in the mouth. Follow the manufacturer's powder-to-water ratio and timings, not a remembered figure.